Hey guys! The storage system of my portable game console is implemented!
It seems to be dumb to save the save content right inside the ROM file. I don't really have a choice because of the limitation of the FAT library. :(
My original idea was to have two files. One is the ROM file. Another is the save file. The save file is dynamically created by the game by using the API Calls.
However, when I tried to create the file by using the function pf_write() of the FAT library, it didn't work. Then I looked into the documentation and found out this restriction:
Alright. Then I had come up with three ideas. They're:
Using another FAT library takes a lot of work. Pre-creating a save file on the SD card would bring quite a bit of nuisance to the player because the player would have to manually paste the save file to the SD card in addition of the ROM file. So it's apparently to me that storing the save file content right inside the ROM would be the solution to go.
Since the restriction of the file-writing function is "Cannot create file. Only existing file can be written", everything should be working after saving the content right inside the ROM, right?
It turned out that I was mistaken. When I tried writing something on the SD card, the offset of the content being written was wrong! And some of the content were corrupted by zeros. Why?
After reading the documentation again, I've found out why. The library has a function for reading from file, and another function for writing to file. The function for reading works with any file offset. However, the function for writing only works properly if the seek offset of the file is aligned to 512 bytes. Otherwise, the offset would be rounded down to the closest 512-bytes. In addition of that, the number of bytes written are padded with zeros to 512 bytes.
The solution? Simple! Just align the offset of each resources to 512 bytes and pad them.
Here's the file format of the ROM of the game console.
Offset      Size    Description
0           3       Magic number
3           1       ROM file format version
4           32      Name of the game. NULL-terminated.
36          32      Author of the game. NULL-terminated.
68          256     Game Description. NULL-terminated.
324         700     Reserved
1024+8*N    4       Resource offset in file. N is from 0~255.
1024+8*N+4  4       Resource length. N is from 0~255. Can be zero.
3072        varies  The content of the resources. Each resources are aligned to 512 bytes.
The python script takes a CSV input file and generate the ROM. The CSV file looks like this:
NAME,Name of the game goes here
AUTHOR,Sadale.net
DESCRIPTION,Description of the game goes here
0,assets/game.bin
1,assets/level1.map
2,assets/level2.map
128,assets/titleScreen.graphic
254,[1024]
It's rather obvious what does the CSV do except the last line. For the resource #254, it allocates a resource that contains 1024 bytes of zero. It's useful for allocating space for save file of the game.
It's simple. There're only three functions.
It's rather intuitive. I guess I don't need to explain it here. :P
To demonstrate that the storage system is working, I've developed a test program. The program is capable for playing three kind of sound with configurable duty cycle. The function of the buttons are shown below:
Click here and see how does the code of the program looks like. Please notice that this isn't a complete project and it's not buildable without extif.h, which I'm not releasing until the completion of the software.
After saving the content of the file, here's how does the content of the ROM looks like:

As you can see above, the first byte 0x55 is the magic number. It's used for informing the program that the save data is valid.
The second one is the sound ID. The value of 0x01 refers to the second sound.
The third one is duty cycle. A value of 0x01 refers to 50% duty cycle.
After relaunching the program, the sound and the duty cycle will be loaded. I've tested it. The sound was played correctly after I pressed the Button A. :)
I'll be working on the following stuffs:
That's it for now. I'll update you guys for any progress! :)

If you know me personally, you'd probably heard of this portable game console. I have been working on this project for almost two months! I decided not to blog about this until now because I wasn't confident about the completion of this project. My main concern was the hardware design of my portable game console isn't going to work at all. Now that I've tested and proven that it's possible to do whatever I need to for this project. Therefore, it's now the right time to announce this project in this blog! :)
Introducing Portable Game Console Project! It is a minimalist, low-cost portable game console. It isn't an emulator of existing game console. It's a brand new game console system. It doesn't have a name yet. Until it's getting named, I'll just call it portable game console.
It's mostly a "because I can" project. I aim to learn stuffs from this project, including drawing PCB board, electronic design, a little bit mechanic design by drawing the case of the console, embedded programming, etc.
This is an open source project. There're already many existing game consoles. I don't think anyone would be interested in getting this one. Commercialization is out of the question. Instead, upon the completion of this project, I plan to do free giveaway of this console (and hopefully someone would be interested in developing games for this console). Waste all of the time! Lose all of the money! Hooray! :P
I haven't drawn a schematic diagram. So I'd just write down the wiring of STM32F030F4P6 to other hardware here. It's enough for anyone to reconstruct the circuit
Here's how the connection looks like on the prototype hardware:

I've never used most of these tools and software before this project.
STM32F030F4P6 is the microcontroller of this portable game console. It's a low-end ARM Cortex-M0 microcontroller.
It has 4kB of RAM and 16kB of Flash. In our design, the flash memory is split into two parts. The first part is the bootloader. The second part is the application (game). The bootloader contains the implementation of the API for accessing the LCD, sound system, buttons and SD card. The game is a playable that calls those API functions to access the hardware function of the game console.
The RAM is also split into two parts. A small part is exclusively used by the API. The other part is available for the application.
In addition to that, the bootloader will show a menu for the user to pick a game stored in the SD card. When the game is chosen, self-flashing will be performed to the application part of the flash memory. Then the BX instruction will be called to set the program counter to the starting point of the application, which will caused the game to be launched. There's, unfortunately, no protection of access. Although there's no API for that, it's technically possible for the application to, says, implement their own function to erase the SD card.
The bootloader will probably take 8kB of flash and very small amount of RAM (like 100 bytes).
The API call can be made by using a software interrupt. There's a fixed-address, 8-bytes storage inside the RAM. The API can be accessed by the application by first manipulating the content of the RAM of that address, then trigger a software interrupt. The interrupt EXTI line 15 is used for software interrupt. This design is inspired by int 80h of unix kernel.
Three functions are available:
keysSetDebouncePeriod() is used for setting the software debounce period. The longer it is, the slower the reaction time, and less noisy the response is.
For keysGetPressedState() and keysGetJustChangedState(), each bit represent the state of a button.
For keysGetPressedState(), pressed button would have its bit set to 1. The non-pressed one would be 0.
For keysGetJustChangedState(), pressed button that had changed would have its bit set to 1. Otherwise 0. For example, if the keysGetJustChangedState() of a button is 1, and the keysGetPressedState() is 0, that implies that the button was just released. After calling this function, the justChanged state of all buttons would reset to zero.
The sound system consists of two identical 1-bit synthesizer. One of them is for sound effect (foreground), another of them is for background music. Only one of them can output sound at one time. Depending on the configuration, it's possible to pause the background music while the sound effect is being played, or have the sound effect played during its effective duration, replacing the part of background music.
The sound synth has the following capability:
In addition, a musical playback format is defined for this game console, which enables the application to play music by calling an API function.
Piano uses a 12-suboctave scale, which means that each octave is divided by 12 notes.
However, in this game console, a 32-suboctave frequency scale is used instead. It means that each octave is divided by 32 notes. This game console is able to generate more fine frequency compared with piano, mainly useful for sounds effects. Since 32 isn't divisible by 12, some of the piano notes has to be substituted with a close enough frequency. Fortunately, this is not a problem because "Humans can notice a difference in pitch of about 5 to 6 cents" according to a paper by Beatus Dominik Loeffler. For a 32-suboctave system, the maximum error compared with piano note would be 64-suboctave, which is 1/64*100=1.5625 cent of error, which is far less than 5~6 cents. I've also personally listened to a piece of music played on the game console. It sounds good. So the frequency error isn't a problem. :)
During frequency sweeping, the 32-suboctave is further subdivided into 16 frequencies, forming 512-suboctaves. Each step of sweep would increase/decrease the frequency by a 512-suboctave until the final frequency is reached.
The frequency of the sound to be played is 2^(5+n/32) Hz, where n can be any value from 0 to 255.
Generation of tone requires vibration of audio signal. For a 1-bit synth, the duty cycle determines the duration of the signal to be LOW or HIGH. Let's take a 1000Hz sound wave as an example. It takes 1ms to complete a period. If the duty cycle is 50%, 0.5ms would be spent on LOW, and another 0.5ms would be spent on HIGH. If the duty cycle is 75%, the signal would be LOW for 0.25ms, and HIGH for 0.75ms.
Although this synth is 1-bit synth, it's possible to control the volume of the synth by using duty cycle. That's because the duty cycle affects the RMS value of the waveform. The closer the duty cycle to 50%, the louder the sound is.
The duty cycle can be adjusted (1-1/(n^2)) * 100%, where n can be any value from 0 to 15.
Unlike frequency, the duty cycle sweep does not have any subdivide mechanism.
The format is simple. It's a mix of command and data. Data starts with a non-zero byte. Command starts with a byte of zero. It has 6 modes. They are STOP, DF, DCF, FULL, FULL->DF, FULL->DCF.
To switch mode, set the first byte (duration) to 0, then set the second byte to the command ID. The command ID for STOP is 0, DF is 1 and so on. Here's an example of a piece of music:
uint8_t musicArray[] = {
0, 4,  //Switch to FULL->DF mode
20, 97, 97, 0, 0x11, 0, SYNTH_FREQ_SWEEP_TRIANGLE|SYNTH_DUTY_SWEEP_REPEAT_ENABLE, //Play a sound with full parameters specification and switch to DF mode
20,102, //Now that we're in DF (duration+frequency) mode. We play a sound in DF mode
65,105, //Play another sound in DF mode
20,97, //ditto
20,105, //ditto
45,102, //ditto
100,97, //ditto
0, 0 //Switch to STOP mode. It's like a NULL character for string.
};
The following functions are available:
Here's a piece of recorded music generated with the game console by using the music format:
I'll continue be developing this game console. It'll probably be completed some time in 2019. I'll update you guys about any progress! :)
Hey guys! It's that time of the year again! Our awesome Rock Paper Scissors Tournament will soon be commencing, and its website's ready! :-)
This is supposed to be an annual event. However, it didn't happen last year because the hoster failed to set up the site. Therefore, we're going to host this event on our own this year.
We'll be issuing certificate of participation of all of our participants! If you're looking for a degree or a job, certificates are proven to be helpful on building your portfolio. That's why we're issuing them! Put that in your resume and we promise that'd secure your job offer or degree offer!
This year we've also made the captcha easier than it used to be! We believe that it'll invite some bots to join our event. That'd make our tournament even more competitive than it was! :)
Event details:
The front-end is almost the same as the old one. Semantic-UI were used. But we've changed the back-end from Django to Flask. Flask takes much less RAM compared with Django. And it takes much less efforts to develop stuffs using Flask, especially for trivial projects like this one. I guess Django is better suit for larger scale websites.
I guess I'll be opensouring this thing. But I'm too lazy to do so right now. Maybe later. :P
I'm thinking about making an AVR (non-Arduino) portable game console. I'm evaluating the type of display to be used (including multiple 8x8 LED matrix, graphical LCD, TFT/OLED screen, alphanumeric LCD and combination of them). Then I came up with a weird idea. What if I use a alphanumeric LCD as a graphical LCD? That'd cut me quite a bit of the cost compared with using graphical LCD of the same physical dimension.
I'm a bit bored today. I feel like tinkering around with Arduino and 1602 LCD that has been around in my home. Here's what I've got as a result of hours of boredom. An Arduino-based 1602 Snake Game:
Check out the source code in this github repository!
The hardware is roughly based on this official Arduino LCD Hello World tutorial, with an addition of two push buttons.
The left push button is connected to D8, while the right push button is connected to D9. Both push buttons are pulled-down. For other connections, please refer to the schematics in the tutorial.
HD44780-compatible LCD driver supports up to 8 custom characters. By carefully defining those 8 characters, it's possible to subdivide each character into multiple "pixels". That can effectively turn the alphanumeric display into a graphical LCD display.
My design subdivides each character two rows. Each row on the character can be either empty, snake, or apple as shown below:

There're two "pixels" in each character. Each pixel can have three possible values. Therefore, the total combination is 3^2 = 9. Since one of these combination is visually empty, a space character were used to represent that. At the end only 8 custom characters are needed. So the 8 available characters in CGRAM of HD44780 are just enough for our purpose.
To reduce RAM usage, each pixel is represented by 2 bits. So a byte can store 4 pixels. Everything is cramped into a uint8_t graphicRam[GRAPHIC_WIDTH*2/8][GRAPHIC_HEIGHT]. At width of 16 and height of 4, only 16 bytes of RAM are taken for the graphic! Had I used a uint8_t for each pixel, 64 bytes of RAM would be required.
After the completion of this project, I've found other designs like spliting each character into three rows, or try making use of all pixels by generating the CGRAM on-the-fly. I'll consider using these techniques for my future projects.
To make the position looks random, we need to somehow seed the random number generator. For computer programs, we usually seed it with the current time of the machine. However, this couldn't be done on Arduino because it doesn't have a real time clock.
My solution is to make a menu screen of the game. When the user start the game, the time of the moment that the user pressed the button is used to seed the random number generator. The micros() method of Arduino Time library were used. This has the equivalent effect of using system time.
I was having fun playing with this game. I thought that it was reasonably bug-free because I had played it for a while. I've also asked one of my family members to try it out. I swear. We haven't spotted any bug.
Until I tried to record a video of the game play, something funny happened. I realized that I haven't implemented self-collision detection of the snake. I was like "Wow. How come no one had notice that earlier?". Hah. What a terrible failure!
Upon the discovery of the bug, it was fixed in no time.
Seems that using alphanumeric LCD as graphical LCD is promising. I'll consider going for this solution for the portable game console project. Of course, I won't be using Arduino for that. Arduino is good for prototyping. But it isn't as efficient as lower-level C/C++ programming.
I've played this game for many times. While it's technically possible to win, I haven't managed to do so. And I haven't tested the code of winning the game. I doubt that anyone could beat it anyway. I guess I'd just leave the code there as it is. :P

Alright. That's enough fun for today. Gotta sleep.
This year, I have done another Global Game Jam. I did it in Hong Kong again. Mainly because I was being too lazy to try out other jam site for this year. :P This year I had done something different. I did music instead of programming.
I had spent quite a while for practicing using Musical Palette - Melody Composing Tool, LMMS, LabChrip, sfxr and Audacity. I've figured out an efficient method to produce music. That is to come up with melody and chord harmonization by using Musical Palette, then import them into LMMS to further process it. I managed to produce a few pieces of good quality 1 minute music, each of them was produced within 24 hours.
For the LabChrip and sfxr, it's nothing more than about using the randomizer and manual fine adjustment of the parameters. And Audacity is even easier. It's just useful for noise cancellation and applying effects.
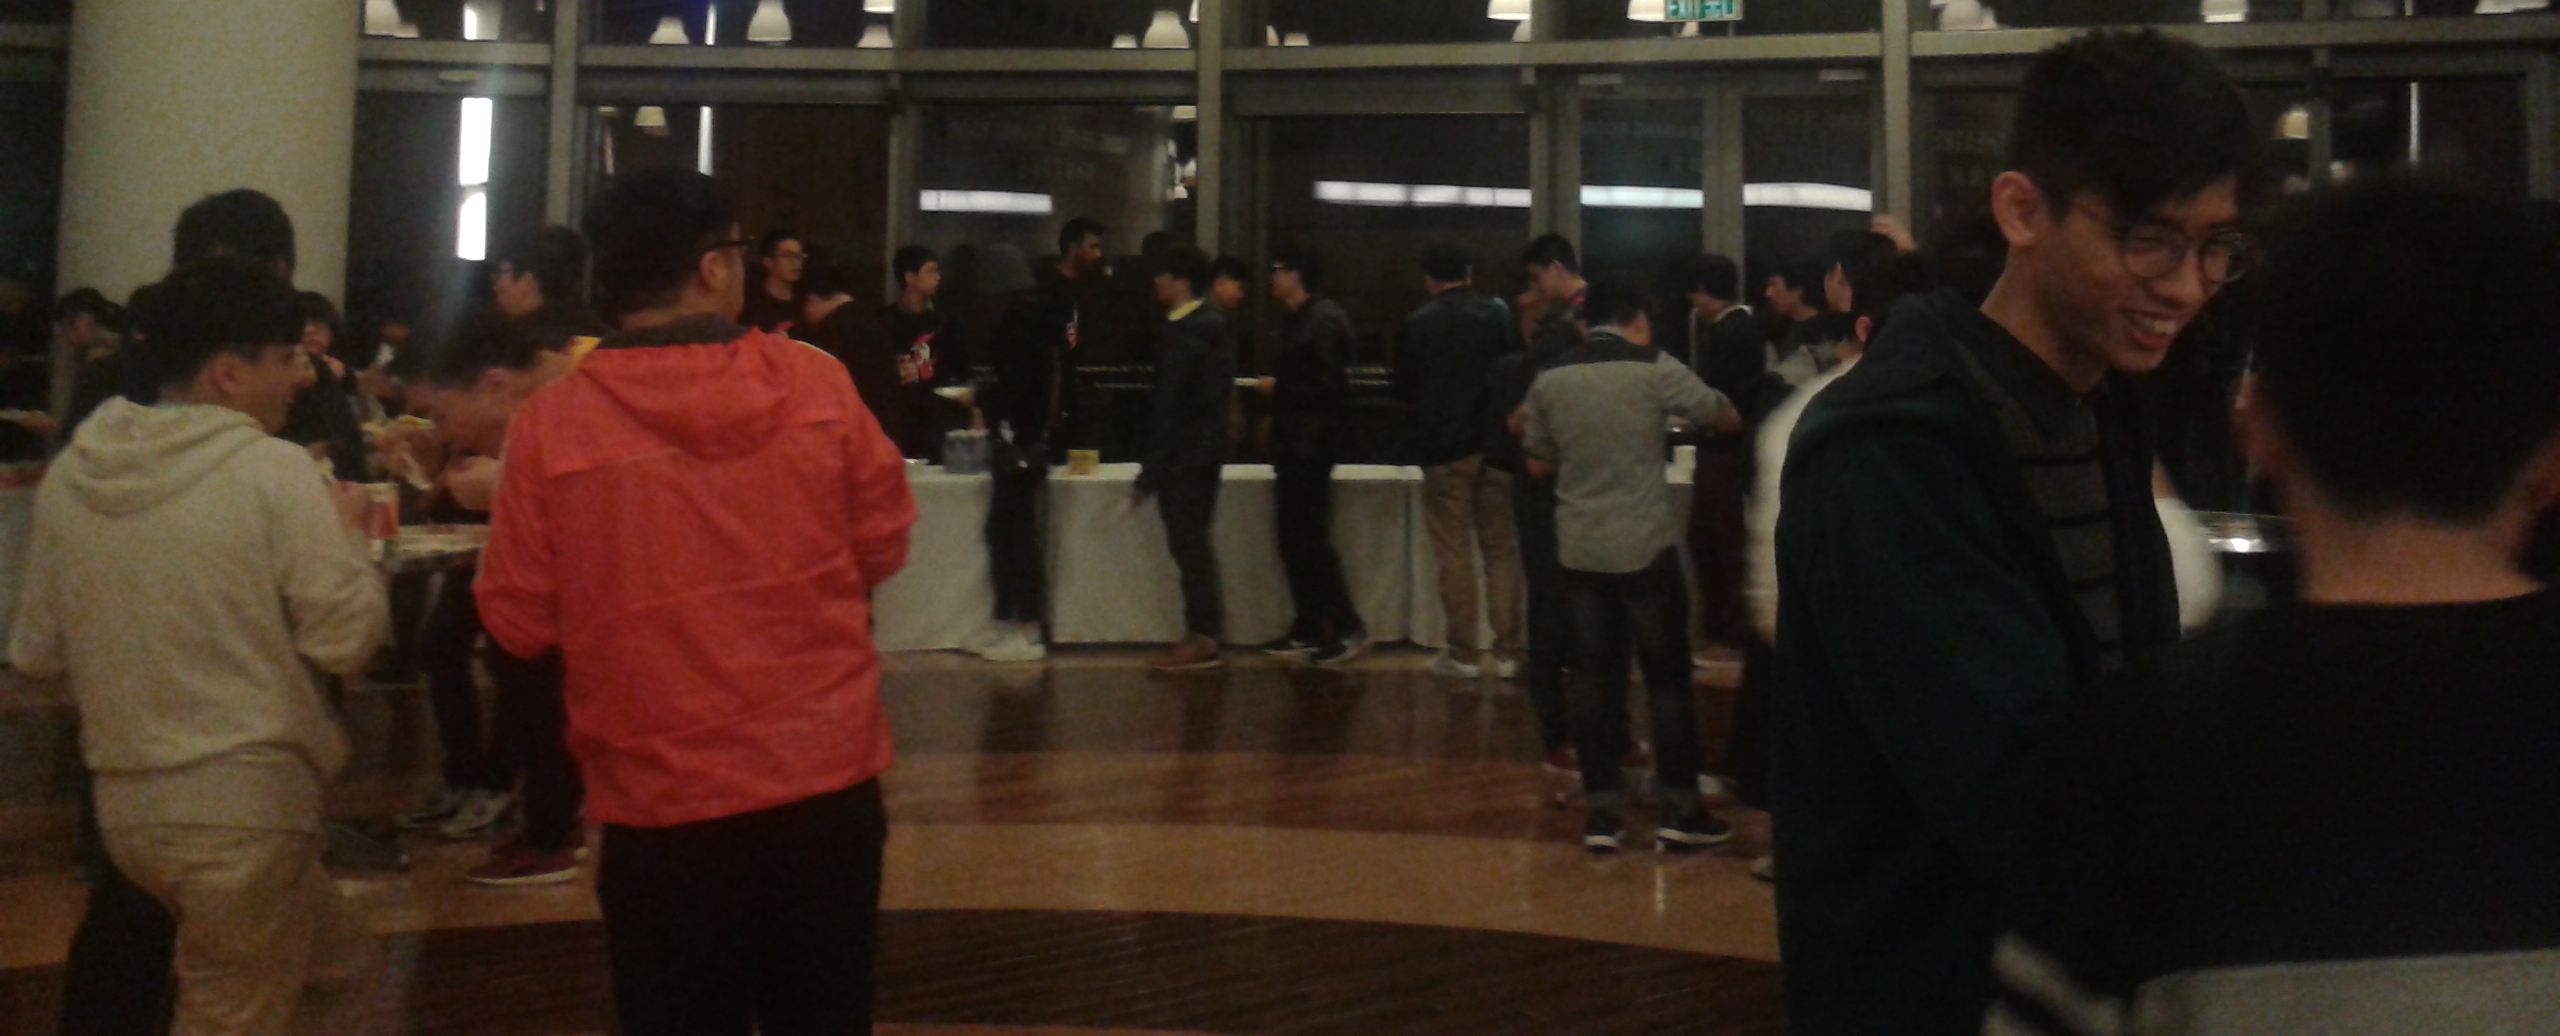
Just like the previous years, I came to the site without a team. As I planned to do music this year, it isn't possible for me to do it alone. So I sought for a team right after I entered the jam site. I tried requesting joining a random team by asking them and got politely rejected. Then another team with three existing members waved at me and asked if I was alone. I answered yes, told them that I made music and got accepted into the team. Then I had a dinner provided by the organizers. Here's a pic with more than 300 jammers begging for free food:
In the midway of our game design discussion, two of the team members had left their seat temporarily. Since I had no idea about the roles of other team members, I asked the remaining member about their role. He told me that he did art, one of the other team member did programming, and when he tried to explain the role of the last team member, his was like "uhm... uh... he's... uh... good at coming up with, uh... uh... ideas and presenting, uh... the ideas". :P Then I ended my question with "Ah. He does marketing. That's good." What I thought was that "He gotta be an idea guy!" :P
When all of the members were back to the seat, we ended up with a consensus on the game design timely.
Then we started connecting to the internet with WiFi. It was very unstable. Then I tried using mobile data by USB tethering with my smartphone. Surprise! Even mobile data is stabler than the WiFi connection provided by the organizers. Since I had a data cap, I had to use my data wisely. So no youtube for me.
I had started to draft a piece of music in the first day. Musical Palette were used for drafting the music.

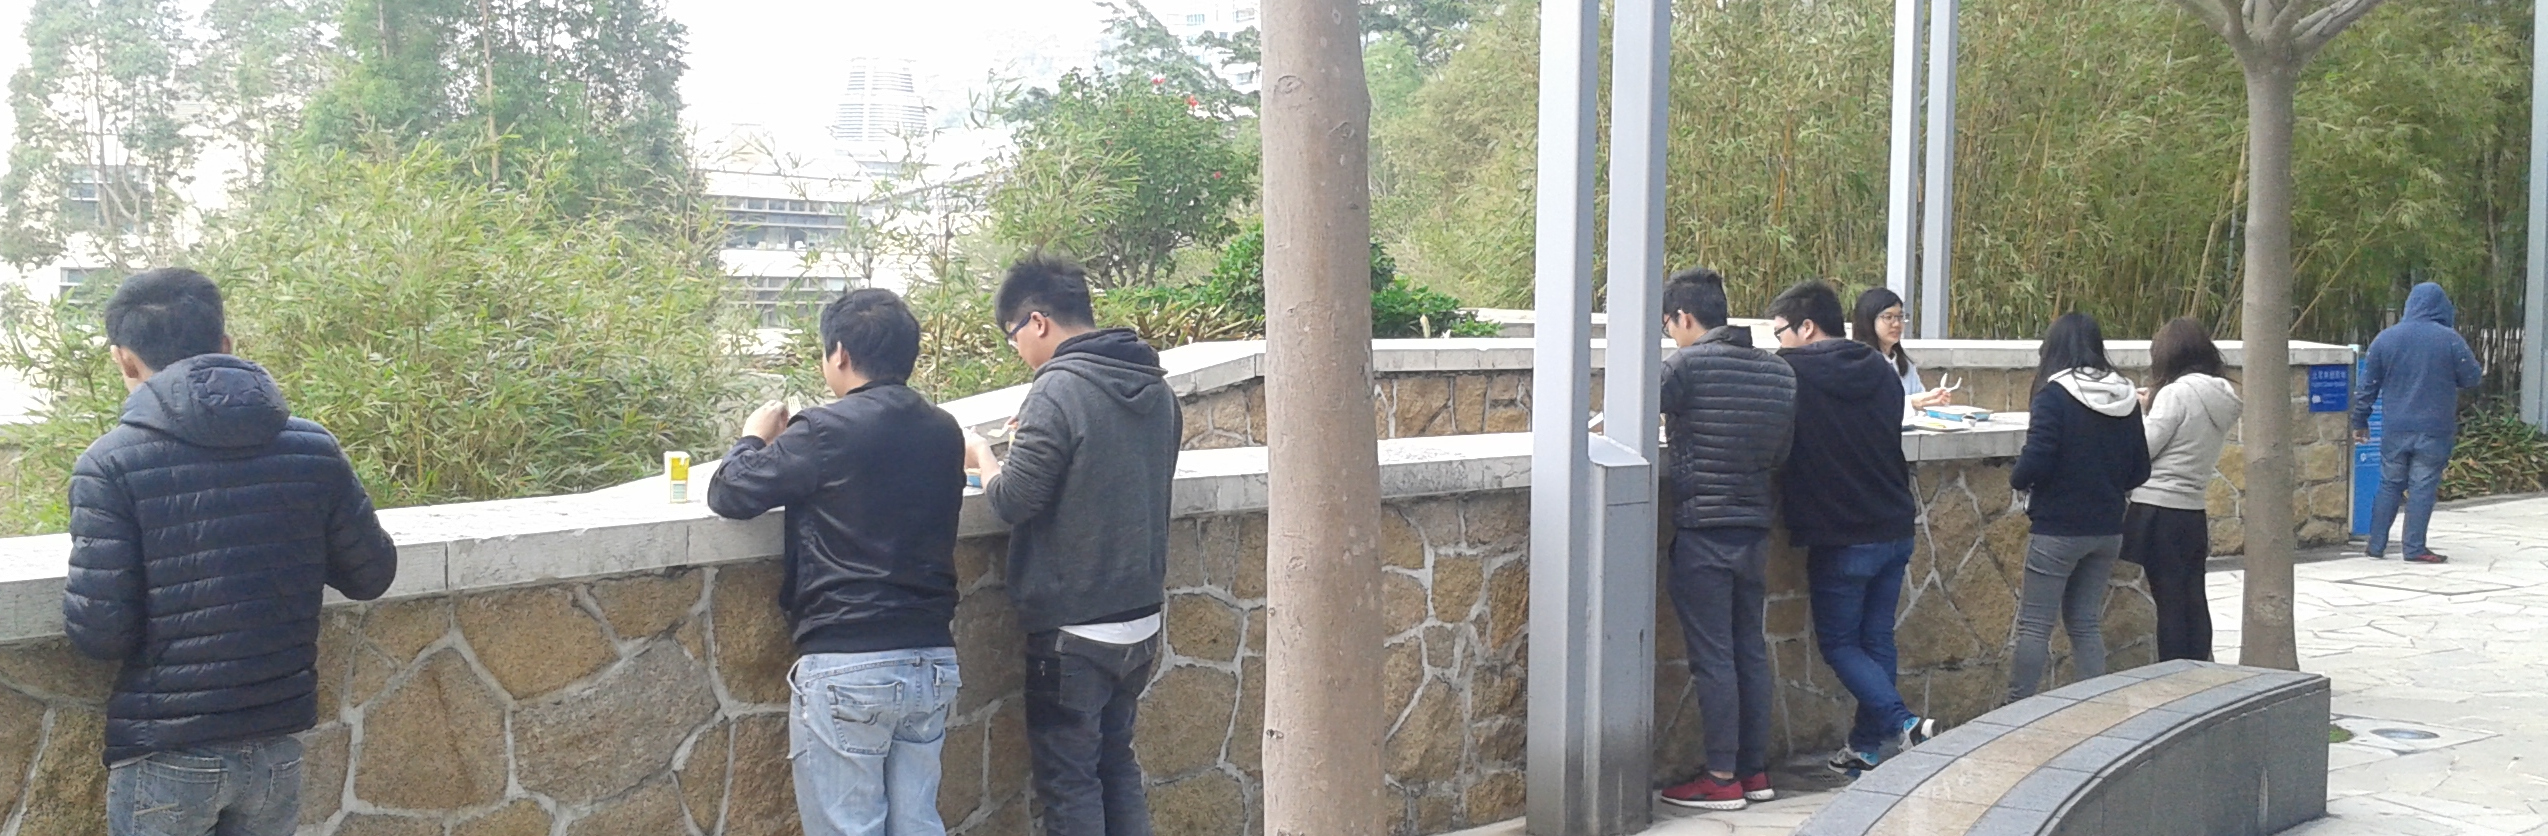
In the second morning, I managed to caught the shuttle bus provided by organizers and arrived at the jam site early. I had breakfast. There's some open area in my jam site. It's rather interesting to see those people standing and eating outside. Some of the jammers had a bit distance in between possibly because they don't know each others.
After the breakfast, we got back on working. I gave the on-site WiFi another shot with no luck. And I used my mobile data again.
Then I was sitting along with the marketing guy. I sporadically took a peek on what he's doing. That was funny. Most of the time he had his Mac laptop playing youtube video, surfing facebook or chatting with instant messengers. At the same time he was holding a smartphone playing games on it. That was impressive. He was taking multitasking to the next level. To be fair, offering critical opinion requires playing others games. Anyway, he did spend a bit of time to look for info about how to make an awesome trailer for games, and studied about the good indie games.
Then the real fun begin. I continued making the music and completed composing with Musical Palette. Then I started working with the same piece of music with LMMS. However, it didn't went as smooth as I thought. In the midway of making the music, I asked my teammates to review it. Then the marketing guy complained that. He demanded a piece of music with abstract wordings that I couldn't understand. :P As you know, musical stuffs is difficult to be described by words.
After a while, he provided me an example of music that he's interested in. That was the BGM of Plants versus Zombies. It was a piece of music with drums without melody.
Then I toss away the old piece of music, made a new one and came up with this in Musical Palette:

I had never made this sort of music before. Using the same chord over and over again for 16 segments (or phrase in that program). Chord variation techniques were used. It isn't the sort of music that I like. The music sounds extremely stressful like playing airport traffic control games. But it does fit into the theme of the game. Then I mastered the piece using LMMS:
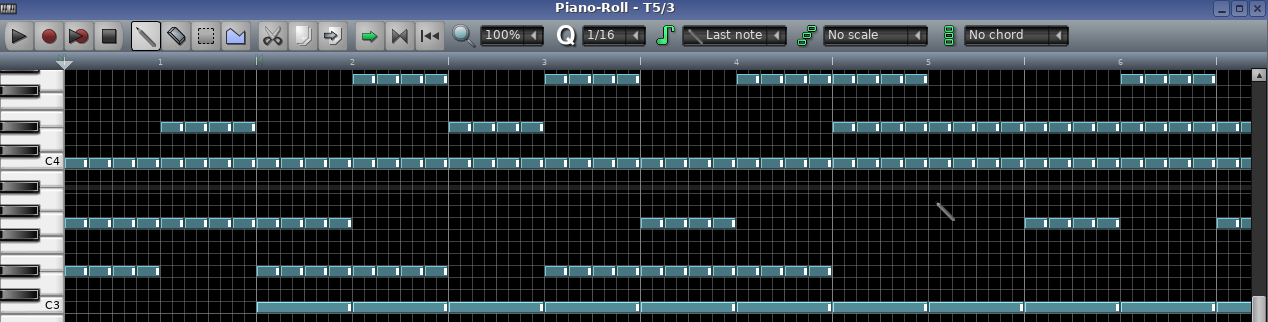
That's crazy. The same chord is played for a long time as shown above. I had added some sidechaining to it. Then I showed my teammates this piece of music. And they're ok with that. It seems to me that it isn't perfect to the marketing guy. But apparently he compromised and told me that this music is ok. That's possibly because of worry of time constraint.
Then I started working on the sound effects. That was rather easy to me. Depending on the sort of sfx, I used LabChrip, sfxr or remixing recorded voice with Audacity.
Working with LabChrip and sfxr was easy. Just click on those randomization button until I get a sound that's close to the one that I want. Then I adapt it a little bit and that's it. Using Audacity is still easy, but it has a bit different workflow. For the sound effects that's simple, I just performed noise cancellation and reverbed it. For sound effects that has like having many people saying the same something, like wow, or laughing sound, what I did was to record the sound for multiple times myself. Then performed noise cancellation, overlapped those recorded sounds, and reverbed it a bit and here we have it.
Speaking of noise cancellation, I'm rather surprised at the noise cancellation capability of Audacity. Behold a screenshot showing the power of the noise canceling effect:
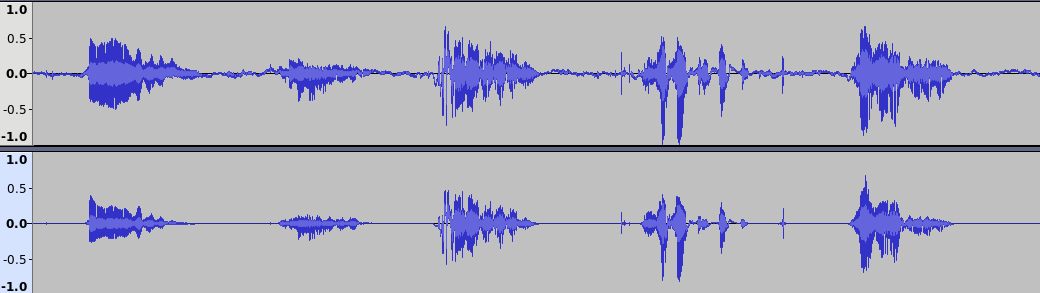
We were in a noisy room with a lot of discussion from parallel teams sitting right next to us as shown below:

The result was brilliant. I seriously thought that I had to get out of the room for recording the voice. I'm not sure if it's solely Audacity, or it's that I was using a headset (Kingston HyperX Cloud Core) that allows me to put the microphone closely to my mouth for clear recording. But still, considered the environment noise, the result of the noise cancellation was very impressive.
At the end of the second day, I went back to home. All of the teammates claimed to stay overnight.
In the third day, I woke up a little bit late. So I couldn't get on the shuttle bus. I arrived the jam site by myself. After arriving at the site, I've found that our programmer had got back to home last night. And he would be doing remote working for our team for the day.
The third day was relaxing. There wasn't much for me to do. After goofing off for a while, our team had started producing the promotion video for our game. The rule of our jam site is to make a one minute trailer for the game. So I had make a piece of music dedicated for the trailer. The art guy did the video and synchronized the text with the music. The resultant video was quite good. The programmer had uploaded the game and our team members were happy about the game and the trailer. I haven't had time to try out the game that our team made, tho. That's because I was on linux, which is unsupported by the game.
After that, the marketing guy had come up with a story written in the description of the game. Then I extended the story with better wordings. Right after the game submission deadline, the artist and the marketing guy left because they were exhausted of staying overnight. At the end the marketing guy didn't do much other than giving critical opinion and discussing the game design. It seems to me that that guy is more like a quality control guy.
I had got a bit of time to chat with a few interesting jammers on the site. Before I had the time on socializing with them. presentation session had started. It mainly comprised of playing those 1 minute trailers. When it was my turn, I was rather surprised that the volume of our trailer were so low. I don't know if it's the audio of the vid itself, or the staff had set the volume level to too low. After that, the sponsors gave awards to some well-performing teams. And that's the end of the Global Game Jam of 2018 to me.
We took shuttle bus to a major metro station and got back to home.
After getting back to home, I tried playing the game that our team made. I was rather disappointed with the game. It was severely bugged and it isn't even remotely playable. Despite that the trailer looks good, the game itself sucks. Then I tried out other games produced in our jam site. They had similar problem. Super buggy. Not playable. Good or mediocre trailer, but no fun to play with at all. Wow. Seriously?
I guess now I've finally figured out the truth of Global Game Jam in Hong Kong. Almost all games here sucks with funny or semi-interesting trailer. Many jammers are just interested in getting an award. That's something that I truly hate because it isn't what a game jam about. If you like 48 hours game development competition, you could have just joined Ludum Dare!
I don't know. If I have enough spare time, I should seriously consider joining Global Game Jam elsewhere next year. The Macau one seems to be feasible because the guys there speak Cantonese, so there wouldn't be any language barrier to me. And the bridge connecting Hong Kong and Macau should be completed by next year. That'd make it easy for me to travel to there. :)
Despite that this jam isn't perfect, it's good enough. I'm happy about it. :)
Now I've a few pieces of music laying around. Some of them were produced for practicing making music before the jam. One of them is incomplete and was produced during the jam. Perhaps I can write a few songs with those music in the future.
And I also have some sound effects produced. Maybe I can create an asset pack with them.